
Hallo bloglezers,
Hello everyone,
In deze post van mij laat ik jullie het gebruik van verschillende stencils zien op een pagina in mijn Art Journal.
Er valt heel wat te kiezen en op deze pagina heb ik 4 verschillende stencils gebruikt.
In this post of my, I show you several stencils on a page in my Art Journal.
There a lot to choose, but on this page I chose 4 different stencils.

Dit heb je nodig:
- een Art Journal
-distress Oxide inkt
-distress tools
-een zwart en een wit Aquarelpotlood
-waterverf
-kwastje
-stempels
-stempelinkt
-babydoekje
-keukenrol
-acrylmarkers zwart, wit en groen
-Pronty stencils: Feathers 470.802.059
Doodle Dots 470.802.058
Triptych 470.803.46
Gell Bubble 470.803.035
This is what you need:
- an Art Journal
-distress Oxide inkt
-distress tools
- a black and a white watercolorpencil
-watercolor paint
-brush
-stamps
-ink to stamp
-babywipes
-kitchelpaper
-acrylmarkers black, white and green
-Pronty stencils: Feathers 470.802.059
Doodle Dots 470.802.058
Triptych 470.803.46
Gell Bubble 470.803.035

Neem je Art Journal en een inlegvel. Snijd dat inlegvel schuin op maat en maak ook de vouw.
Leg dit vel in je AJ en teken de omtrek.
Take your Art Journal and an insert sheet. Cut the sheet slanting as you wish and make also the fold.
Put the sheet into the journal and draw the contour of it with a pencil.

Bewerk de achtergrond in de kleuren Distress Oxide die jij wilt.
Make the background with Distress Oxide into the colors you want.
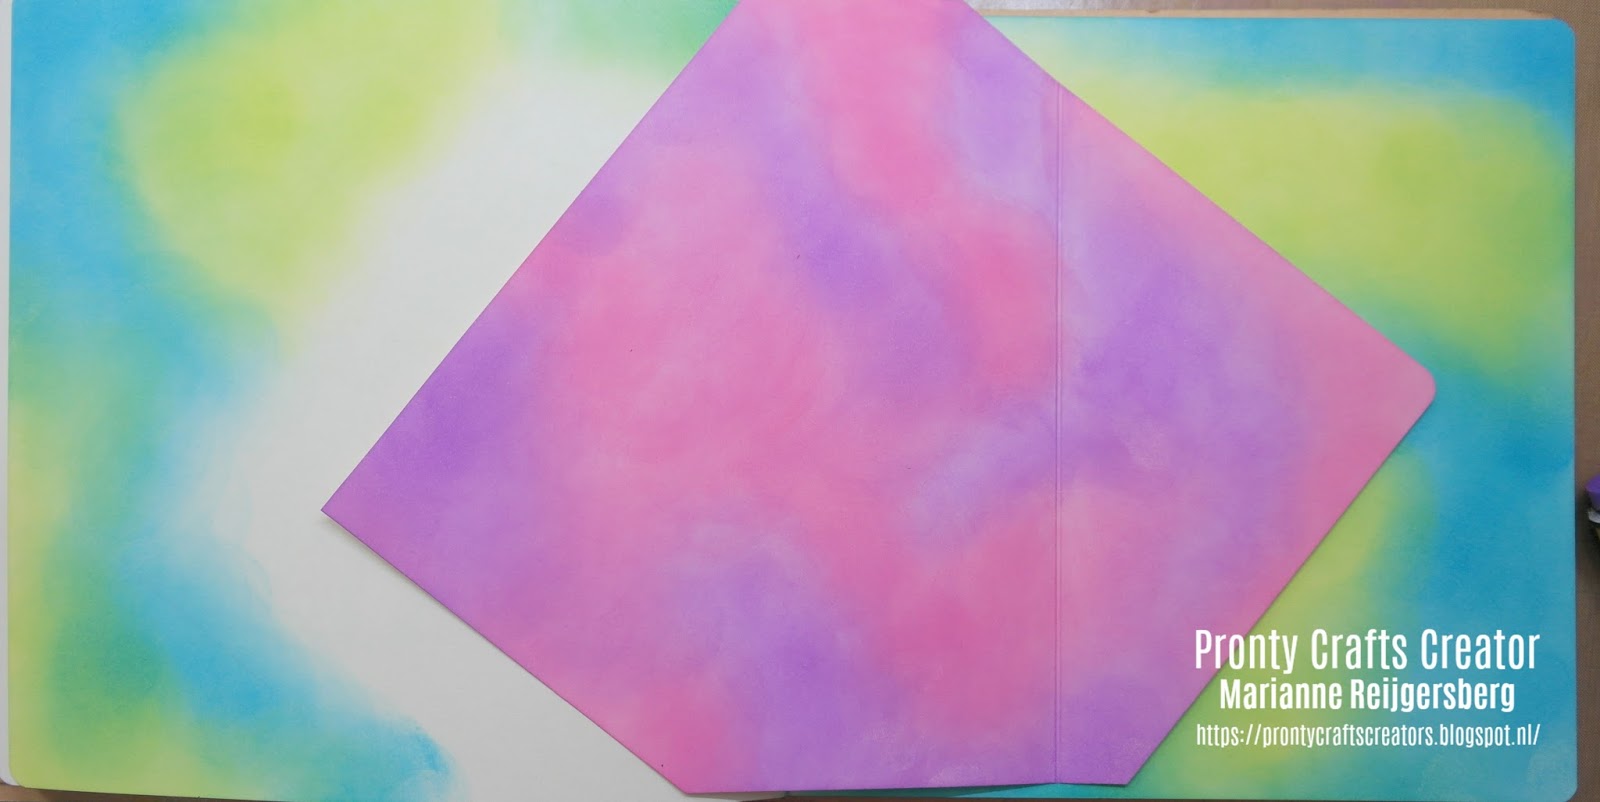
Bewerk ook het inlegvel met Distress Oxide.
Do the same with the insert sheet.

Leg je stencil op je pagina. Neem een distresstool en maak de rand in de kleur van je keuze.
Doe dit rondom je pagina. Ik heb een tintje donkerder blauw genomen dan de achtergrond.
Lay the stencil on the page. Take a distress tool and make the border random. I took a touch darker than the color blue I used on the background.

Dit is dat het resultaat.
Here the result.

Leg het Tryptich stencil op je pagina en maak hier en daar een afdruk met een distresstool met zwarte Distress Oxide.
Lay the Tryptich stencil on the page and take the distress tool with black Distress Oxide ink and go over some spaces of the stencil.

Begin aan het inlegvel.
Stempel de ogen, neus en mond. Ook de stempel die in het haar komt.
Teken met potlood heel licht de contouren van het gezicht.
Dan weet je waar je de stencils kunt plaatsen.
Leg de doily op het vel.
Neem je donkerste kleur van de achtergrond en wrijf licht over het stencil.
Leg het stencil op een andere plek. Neem een babydoekje en wrijf weer zachtjes over het stencil. Je neemt de inkt nu weg.
Next work on the insert sheet.
Stamp the eyes, nose and mouth and also the stamp that comes into the hair.
Take a pencil and draw very light full the contour of the face.
So you know than where your have to lay your stencil.
Take the doily stencil and lay it on the paper.
Take the darkest color from the background on the distress tool and gently rub over the stencil.
Lay the stencil on an other place. Take a babywipe an rub also gently over the stencil. Now you take of the color from the background.

Maak de haren met het Feather stencil.
Neem een distress tool met zwarte Distress Oxide en ga daarmee over de veer.
Drapeer de veer meerdere malen langs het gezicht zodat er "haar" ontstaat.
Make hair with the feather stencil. Take the distress tool with black Distress Oxide and go over the feather. Drape the feather several times along the face. So you get the "hair".

Neem nu een zwart Aquarelpotlood en maak schaduw in het gezicht door heel licht wat kleur aan te brengen en dit uit te vegen met je vingers.
Take a black watercolor pencil and make some shadow into the face by bringing lightly some color
round the eyes, nose and mouth. Also along the contour of the face.
Wipe out the color with your fingers.

Maak ook wat schaduw als nek. Kleur de ogen en mond met waterverf.
Gebruik naar wens een wit aquarelpotlood voor lichte schaduw. Zie mond.
Zet in de ogen met een witte acrylmarker witte stippen.
Make also some shadow round the neck. Color the eyes and mouth with watercolor.
Us as disired a white watercolor pencil voor light shadow. See the mouth.
Put a white dot into the eyes.
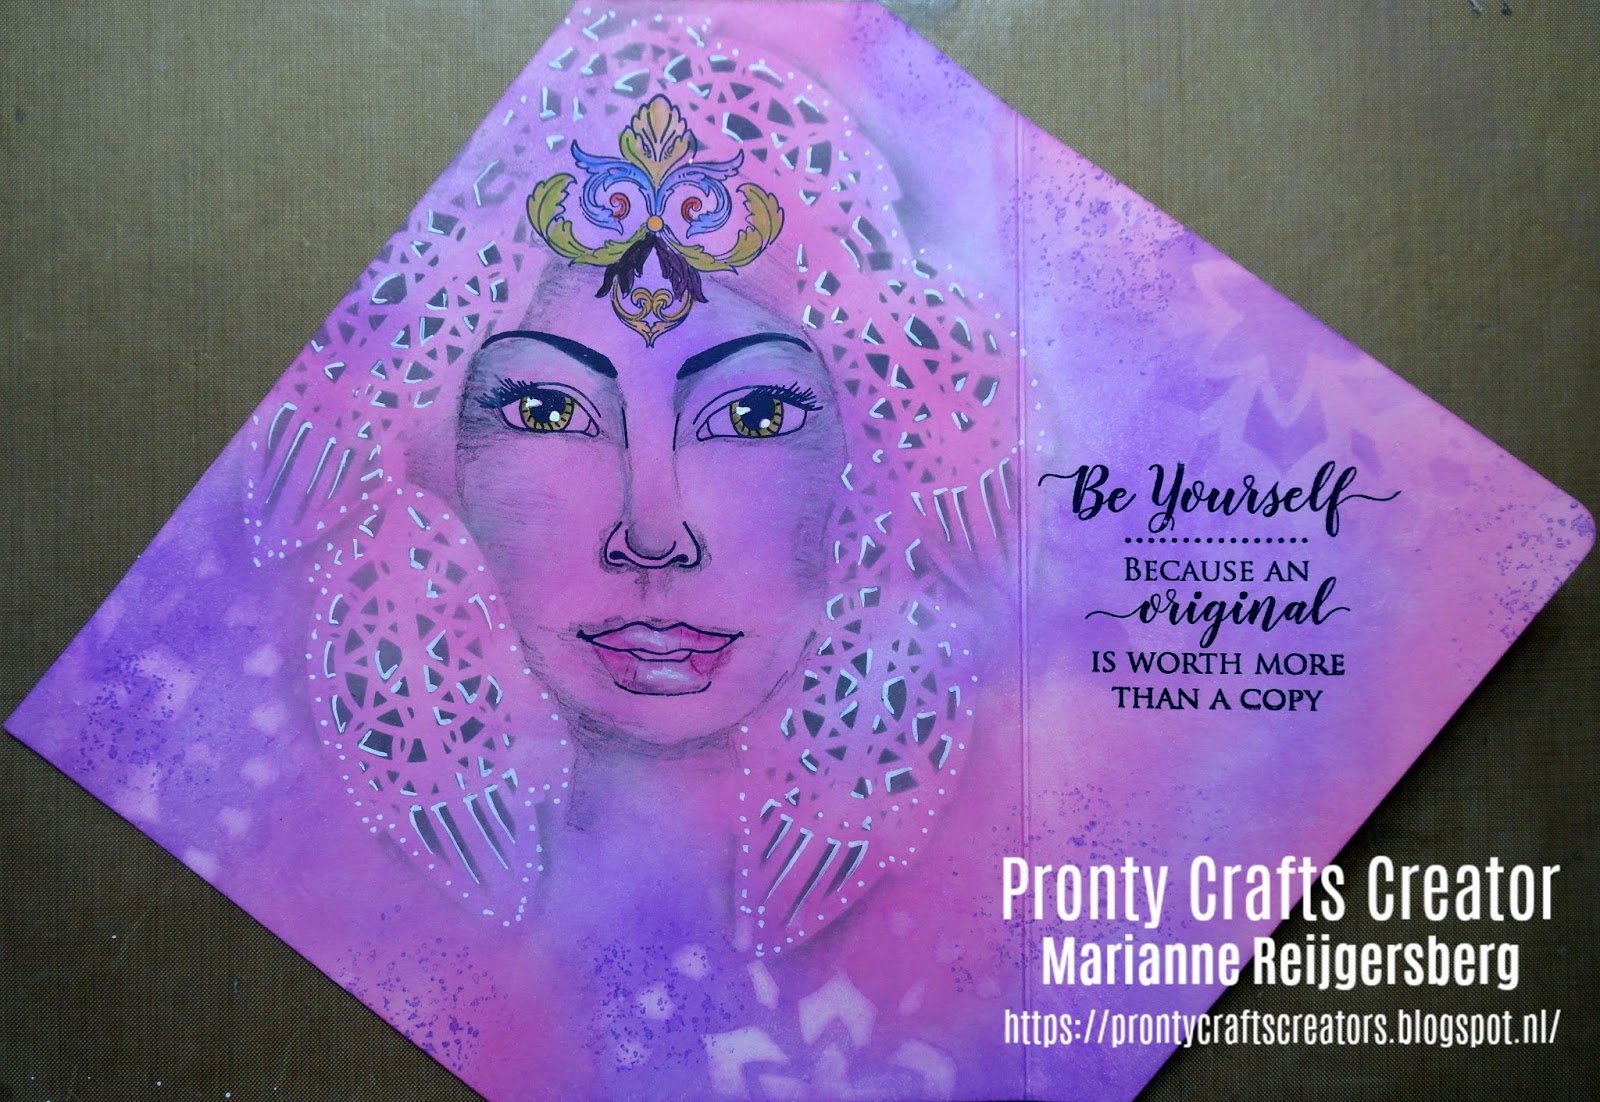
Kleur de stempel boven de ogen met waterverf en plaats de stempel.
Zet met paarse distressinkt en een stempel wat stippen op de achtergrond.
Color the stamp in the hair with watercolor and brush.
Put a fine dot stamp with purple inkt on some places of the paper.

Maak je pagina in je AF af door wat achtergrond stempels te plaatsen en wat blaadjes.
De blaadjes heb ik ingekleurd met een groene acrylmarker.
Finish the page by putting some background stamps and some branches with leaves.
I colored the leaves with a green acrylmarker.

Plak het inlegvel in je AJ.
Stempel nog wat cirkels. Geef de cirkels schaduw met gelatos.
Glue the insert sheet on your Art Journal page.
Stamp some circles. Give the circles shadow with gelatos.

Dit is de linkerpagina.
This is the left page.

Dit is de rechterpagina.
This is the rightpage.

Hier de gehele pagina.
Ik hoop dat jullie wat nieuwe inspiratie hebben opgedaan.
Here is the whole page.
I hope I gave you some inspiration for your own pages.
Tot de volgende keer,
Kind regards,

-


